Workspaces
This section describes how to view and configure workspaces. Analogous to a namespace, a workspace is a container which organizes other items. In GeoServer, a workspace is often used to group similar layers together. Individual layers are often referred to by their workspace name, colon, then store. For example, Ex: topp:states. Two different layers with the same name can exist as long as they exist in different workspaces. For example, Ex: sf:states, topp:states.
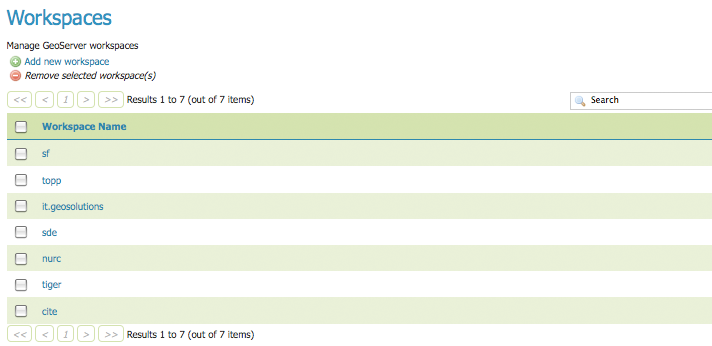
Workspaces page
Edit Workspace
To view details and edit a workspace, click a workspace name.
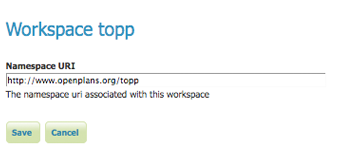
Workspace named “topp”
A workspace consists of a name and a Namespace URI (Uniform Resource Identifier). The workspace name is limited of ten characters and may not contain space. A URI is similar to a URL, except URIs don’t need to point to a location on the web, and only need to be a unique identifier. For a Workspace URI, we recommend using a URL associated with your project, with perhaps a different trailing identifier, such as http://www.openplans.org/topp for the “topp” workspace.
Add or Remove a Workspace
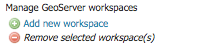
The buttons for adding and removing a workspace can be found at the top of the Workspaces view page.
Buttons to add and remove
To add a workspace, select the Add new workspace button. You will be prompted to enter the the workspace name and URI.
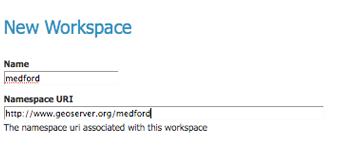
New Workspace page with example
To remove a workspace, click the workspace’s corresponding check box. As with the layer deletion process, multiple workspaces can be checked for removal on a single results page. Click the Remove selected workspaces(s) button. You will be asked to confirm or cancel the deletion. Clicking OK will remove the workspace.
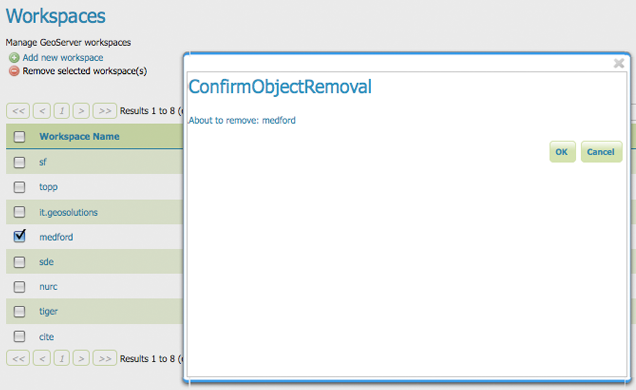
Workspace removal confirmation