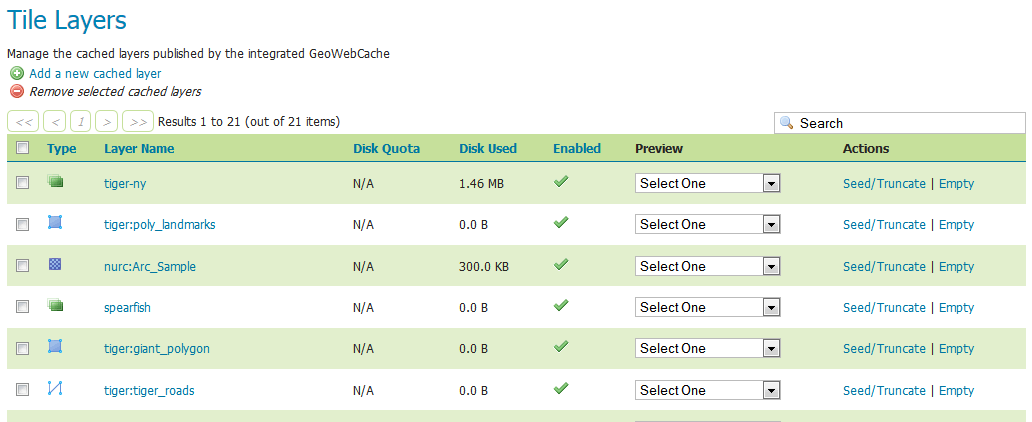
Tile Layers
This page shows a listing of all of the layers known to the integrated GeoWebCache. It is similar to the Layer Preview for GeoWebCache, with many of the same options.
Note
There is also a link to the GeoWebCache standalone demo page.
Layer information
For each layer cached by GeoWebCache, the following information is available.
Disk Quota
The maximum amount of disk space that can be used for this layer. By default, this will be set to N/A (unbounded) unless Disk Quotas are enabled.
Disk Used
The current disk space being used by tiles for this particular layer.
Note
This counter will only be updated if disk quotas are enabled. If disk quotas are not enabled, tiles will still be saved to disk, but the counter will remain as 0.0 B.
Enabled
Indicates whether tile caching is enabled for this layer. It is possible to have a layer definition here but to not have tile caching enabled (set in the layer properties).
Preview
Similar to Layer Preview, this will generate a simple OpenLayers application populated with tiles from one of the available gridset/image format combinations. Select the desired option from the menu to view in OpenLayers.
Seed/Truncate
Opens the GeoWebCache page for automatically seeding and truncating the tile cache. Use this if you want to pre-populate some of your cache.
Empty
Will remove all saved tiles from the cache. This is identical to a full truncate operation for the layer.
Add or remove cached layers
The list of layers displayed on this page is typically the same as, or similar to, the full list of layers known to GeoServer. However, it may not be desirable to have every layer published in GeoServer have a cached layer component. In this case, simply select the box next to the layer to remove, and click Remove selected cached layers. The layer will be removed from GeoWebCache, and the disk cache for this layer will be entirely removed.
Warning
Deleting the tile cache cannot be undone.
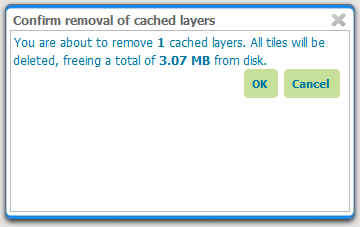
Removing a cached layer
To add in a layer from GeoServer (if it wasn’t set up to be added automatically), click the Add a new cached layer link.

Adding a new cached layer
You have two options for layer configuration. The first option is to load the layer using the default (global) settings. To do this, select the layer you wish to start caching, and click the Configure selected layers with caching defaults link. The second option is to configure the caching parameters manually, via the layer configuration pages. To do this, just click the layer name itself.