AWS Marketplace
OpenGeo Suite for AWS is available for purchase from the AWS Marketplace.
Pricing plans
There are two pricing options for purchasing OpenGeo Suite on AWS: Hourly and Monthly. There is no difference in the software in either option.
- On the Hourly plan, you pay for each hour that your instance is running. This option is best for those who are just testing the software out, and don’t plan on keeping the instance up and running constantly.
- On the Monthly plan, you pay a fixed monthly fee for instance usage, regardless of instance uptime. This option is best for those who are building an instance that will be staying online permanently.
The Hourly plan, if left on over an entire month, will end up being more expensive than the Monthly plan, so it pays to consider your needs and intended usage.
Note
Both the Hourly and Monthly plan pricing do not include additional AWS charges such as data transfer fees.
Instance options
Beyond the pricing plans, there are also three instance sizes. This determination can affect the price as well. The instance sizes are detailed below:
| Name | Standard Large | Standard XL | High Memory XL |
|---|---|---|---|
| Memory | 7.5 GiB | 15 GiB | 17.1 GiB |
| CPU | 4 EC2 Compute Units (2 virtual cores with 2 EC2 Compute Units each) | 8 EC2 Compute Units (4 virtual cores with 2 EC2 Compute Units each) | 6.5 EC2 Compute Units (2 virtual cores with 3.25 EC2 Compute Units each) |
| Storage | 850 GB instance storage | 1690 GB instance storage | 420 GB instance storage |
| Platform | 64-bit | 64-bit | 64-bit |
| I/O performance | High | High | Moderate |
| AWS instance type | m1.large | m1.xlarge | m2.large |
More details about instance sizes can be found on Amazon’s Amazon EC2 Instance Types page.
Purchasing
Warning
You need to have an Amazon Web Services (AWS) account with EC2 enabled in order to use OpenGeo Suite for AWS. Amazon has detailed instructions on how to sign up for AWS/EC2.
Navigate to http://aws.amazon.com and log in by clicking My Account / Console and then My account.
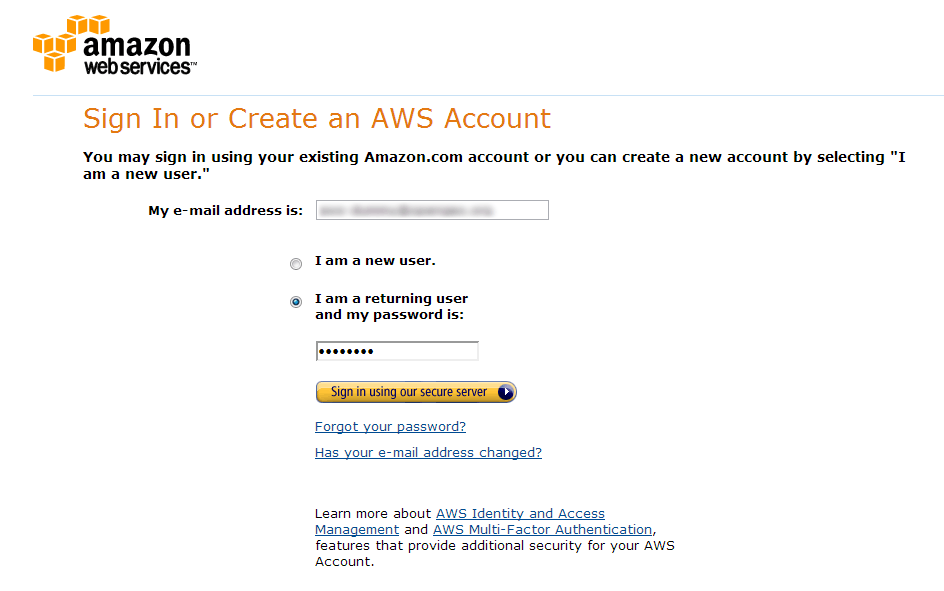
Signing in to AWS
Navigate to the appropriate product page:
Note
All screenshots on this page show the Hourly plan, but the details are the same for both.
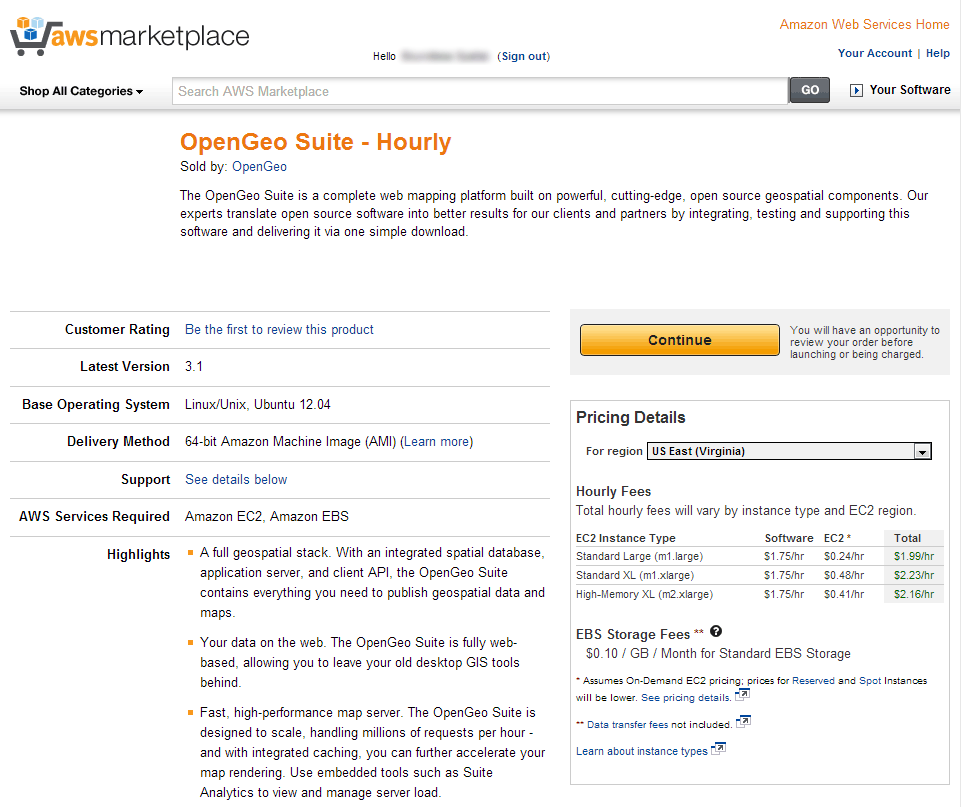
OpenGeo Suite for AWS product page
Click Continue. Don’t worry about any of the options on the Pricing Details box; you’ll have the ability to make those settings on the next page.
The following page contains settings, divided into five boxes: Version, Region, EC2 instance type, Security group, and Key Pair. These boxes can be expanded by clicking them.
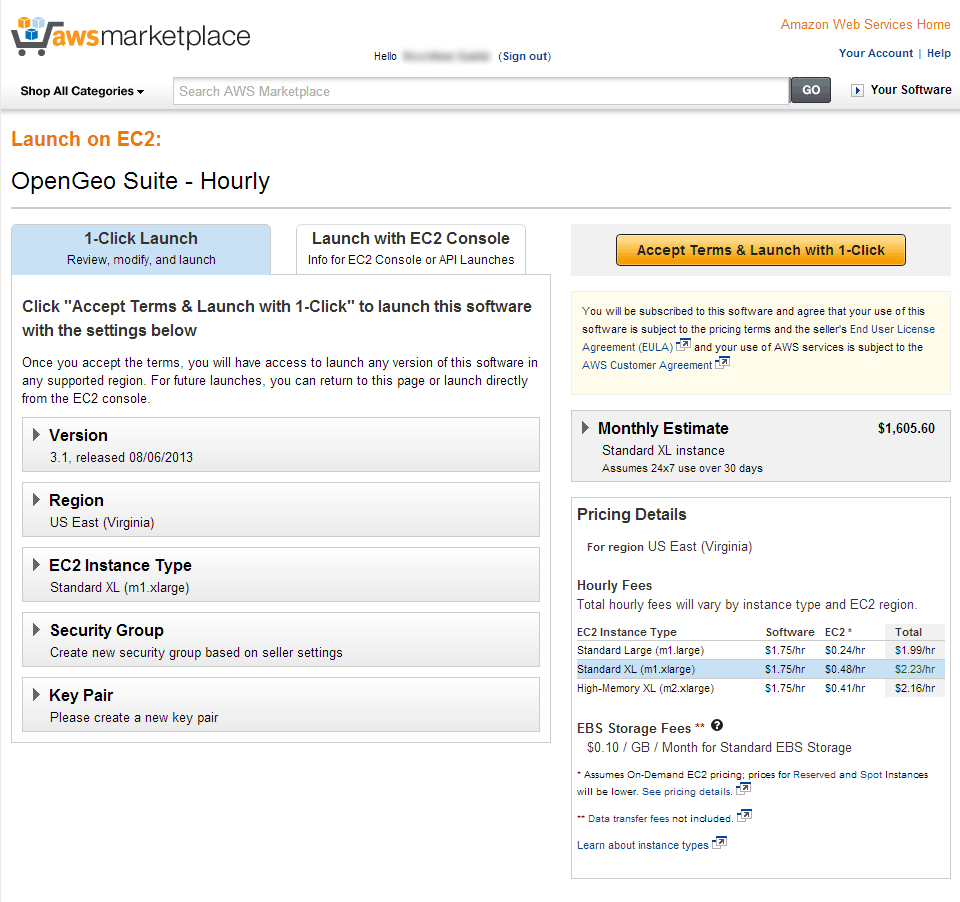
Settings page
Note
Those familiar with AWS can also click the tab that says “Launch with EC2 Console”, and continue their configuration manually. For most people, the instructions here for the “1-Click Launch” will be sufficient.
Version. Most people will leave this option with the default (latest) version.

Version box
Region. Select the region you want the instance to be running in, which is typically the location closest to where your users are likely to be or where your are located.
Note
Learn more about AWS regions.

Region box
EC2 instance type. Choose from “Standard Large”, “Standard XL”, or “High-Memory XL”. Refer to the above chart for the differences between the versions.
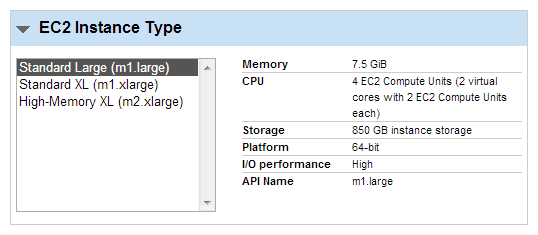
EC2 instance type box
Security Group. We recommend using the standard security group that should already selected, which includes port openings at 22, 80, and 8080. Most people should not change anything in this section.
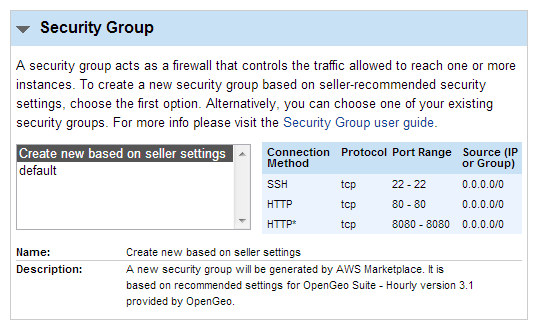
Security Group box
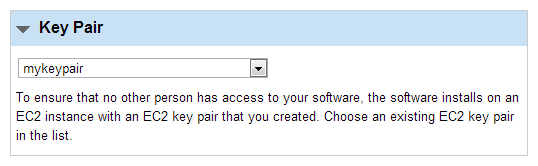
Key Pair. In order to be able to connect to your instance via SSH, you will need to select a saved key pair.
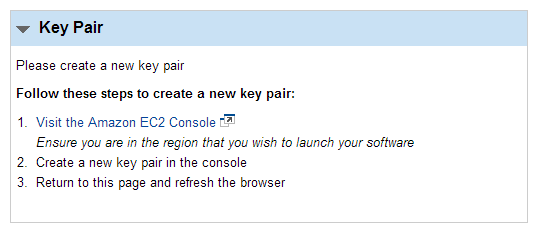
Key pair box
If you don’t have a key pair in your account, click the Visit the Amazon EC2 Console link the Key pair box.
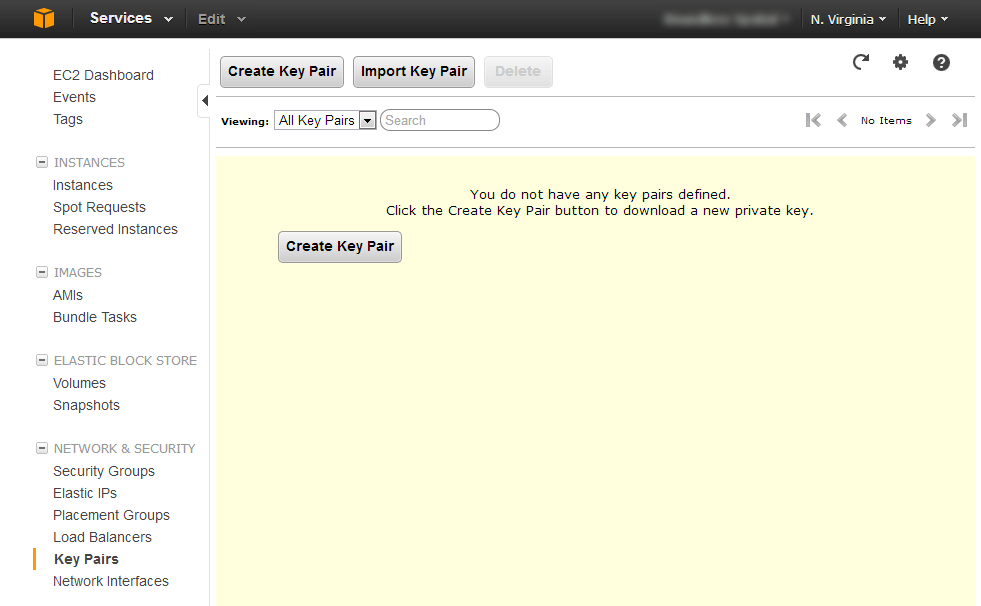
Key pair page with no key pairs
You will be taken to a screen where you can create a new key pair. Click Create key pair.
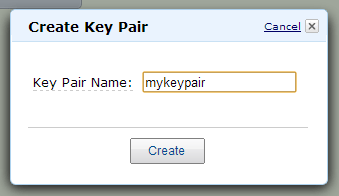
Creating a key pair
A key pair will be generated, and the private portion of the pair will automatically be downloaded onto your system.
Warning
Don’t lose this file, otherwise your key pair will be useless!

Key pair successfully created
Now return to the the settings page, and refresh. Ensure that your settings are still correct, as some setting may revert to their defaults. You should see yoru key pair listed in the Key pair box.
Key pair box with key pair listed
Click Accept terms and Launch with 1-Click.
Note
If you skipped the creation of the key pair, you will see a warning. We recommend creating a key pair now, even if you don’t anticipate connecting to the instance via SSH, so you will have the option of doing so at a later date.
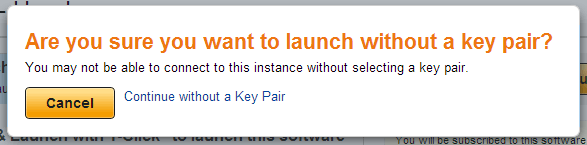
Warning when key pair creation was skipped
If everything went well, you should see a note indicating success. Your instance will be available after a short period of time.

OpenGeo Suite successfully launched
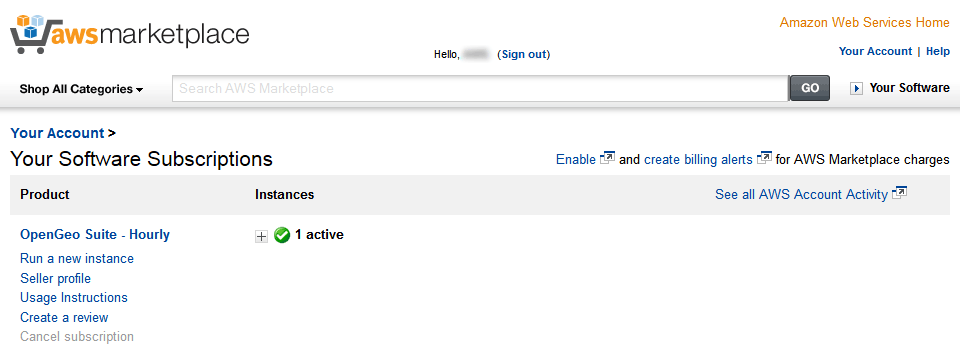
Click on Your Software to see the status of your purchase.

Waiting for OpenGeo Suite to be ready
After a short delay, refresh the page to see the instance in the list.
OpenGeo Suite in the software list
Click the plus icon to expand the options.
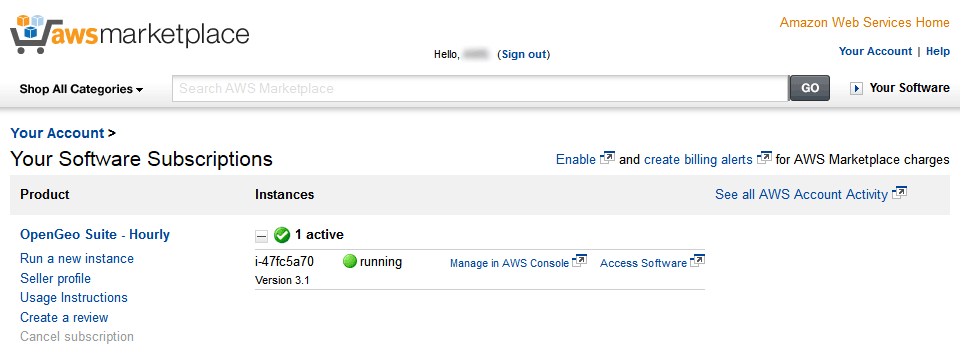
Expanded options
Finally, click Access Software to access the OpenGeo Suite Dashboard. If the Dashboard loads successfully, your instance is up and running. Take note of the DNS entry as it pertains to SSH access.
Continue to installation details.